Say I have this beaker of water and I decided to add
– some tea from used teabag
– baking soda in a quantity that won’t be solub le in this amount of water and stay at the bottom of the beaker
– some terribly smelling coffee, hotels rarely provide good coffee in the rooms
– and some sand from sunny beaches of Florida. I love Florida!
Now I want to mix it really well with this cool device we will talk about in one of the following episodes.
Now we have some really dirty horribly stinking water.
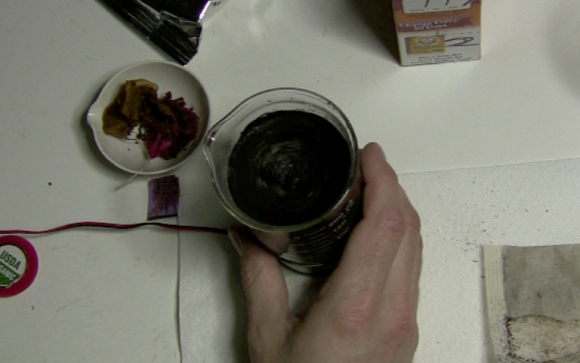
The question is how to separate all the hard particles from the liquid, i.e. how to filter all this mess?

First let’s try the traditional method. As the filter I’m going to use a cotton disk which I’m going to put inside this $3 plastic funnel both available in in a grocery store near you. I’m stuffing the funnel with the filter and pouring some dirty water into this system. So here is our filtration system, let’s put some dirty water into it.
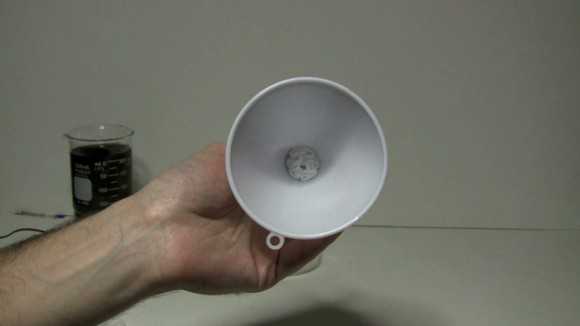
As you can see the water slowly drips thru the filter. This is a terrible way to filter anything, it will take hours.
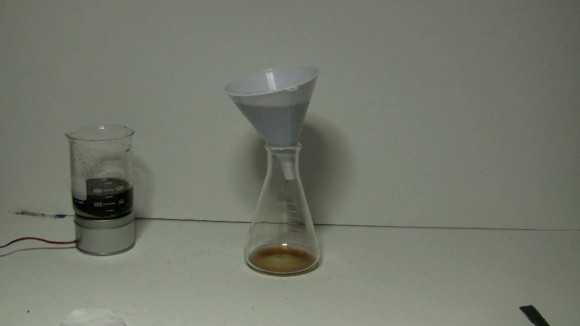
The main problem with this method is the size of the filtration area. All our stuff has to go thru this small hole which gets clogged in no time. The solution to the problem is to increase the area of filtration.
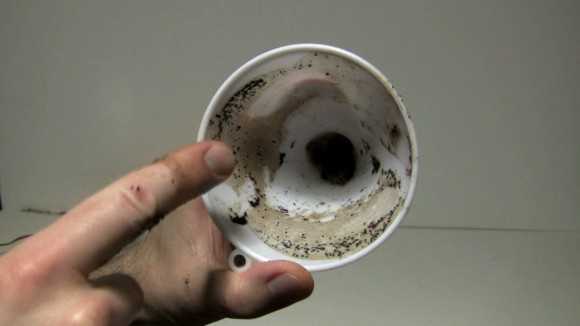
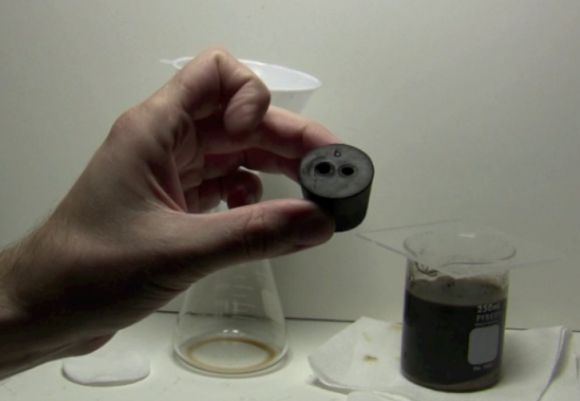
But first let’s solve one more problem. See how wobbly the funnel? It also would be nice to keep it vertical to reduce the risk of spilling the nasty stuff we’re about to filter. To keep the funnel secure I’m going to use this rubber stopper with two holes in it. One hole will let the filtered liquid in, the other will let the air out.
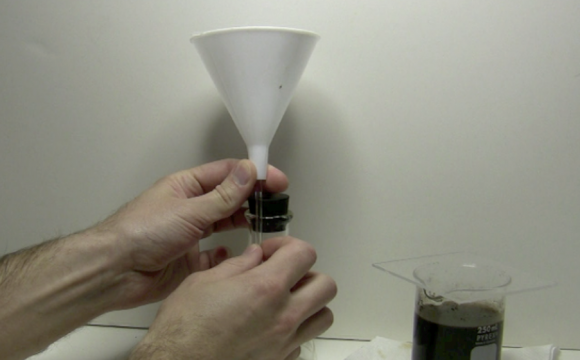
This glass tubing will help me to attach the funnel to the stopper. It has to be long enough to go thru the funnel neck, rubber stopper and make it all the way out into the flask.
Let’s cut the glass tube of appropriate size. For instance I need to cut it right here. I’ll use the diamond file from the supertool to do that, but regular glass cutter will work just as well. Make a scratch on the glass that goes around the tube and just snap it. The snapped tube will have rather sharp edges, so you better smooth them with a fine sanding paper.
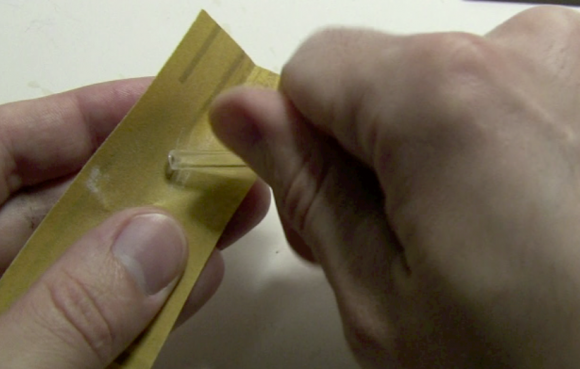
Add some electrical tape around the glass tube to increase its diameter. Keep adding the tape until the tube fits the funnel neck snugly.
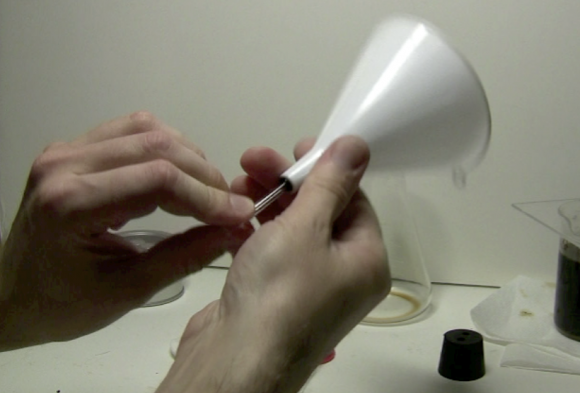
The glue used in the electrical tape is not particularly resistant to certain chemicals I’m going to filter in the future, so it’s a good idea to cover the tape completely with hot glue before installing it into the funnel.
Now I’m going to remove the label from this milk jar cap, drill a bunch of holes in it and hot glue it into the funnel.
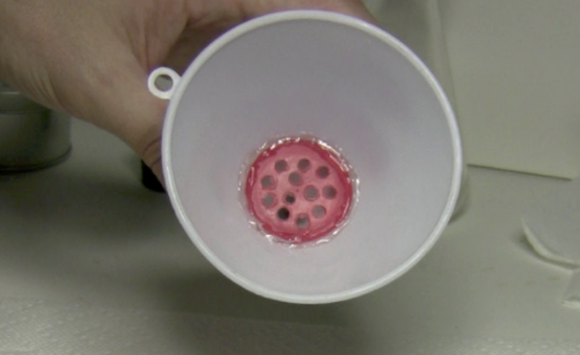
The result is not only more sturdy, but also has much larger filtration area. Let’s try it in action. One important thing about this setup is that the filter has to be wet so it sticks to walls of the funnel.
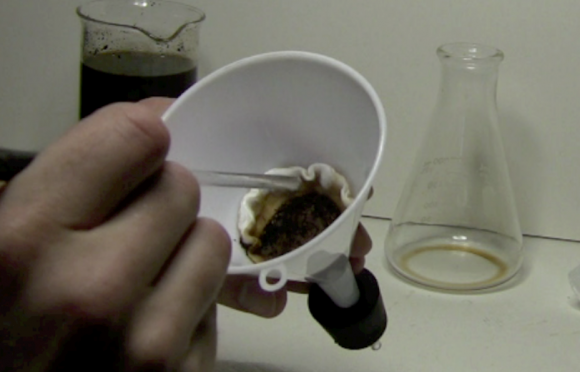
Let’s pour some dirty liquid and see how it goes. Wow! The performance of the filtration increased substantially! Now it will take only a few minutes to filter the same amount of liquid. But what if I need to filter even faster?
I’ll need another piece of glass tubing bent at right angle. You can make it at the kitchen. Just heat up the tubing for a minute or two applying constant force and it will bend easily.
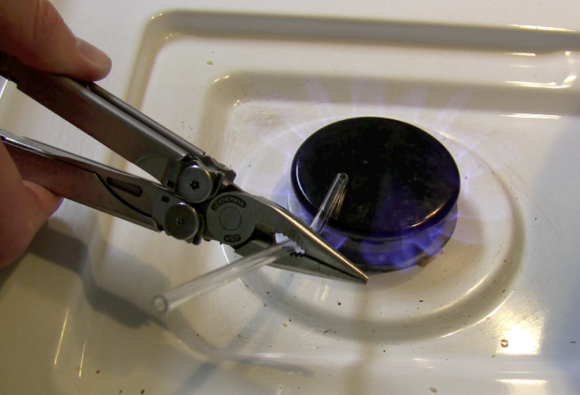
Let’s install this piece of glass into the second hole on the rubber seal and attach it to the vacuum pump we built in the previous episode of the RTFMs video blog.
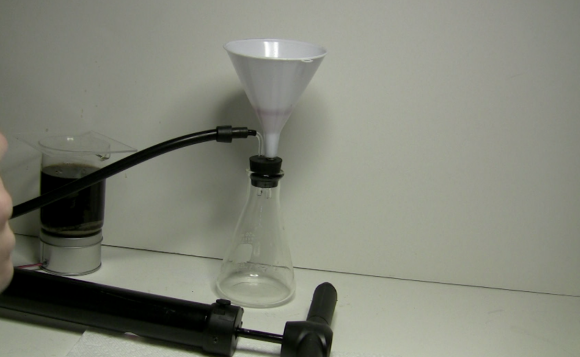
Let’s see this setup in action. The filter is already clogged, at this point so the filtration process is quite slow. Now let me create some vacuum in the flask and three-two-one. Filtration complete. That’s the performance we’re talking about!
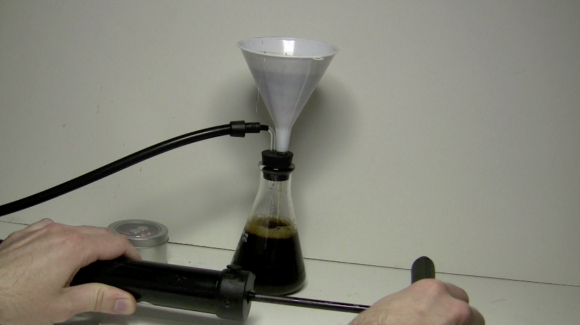
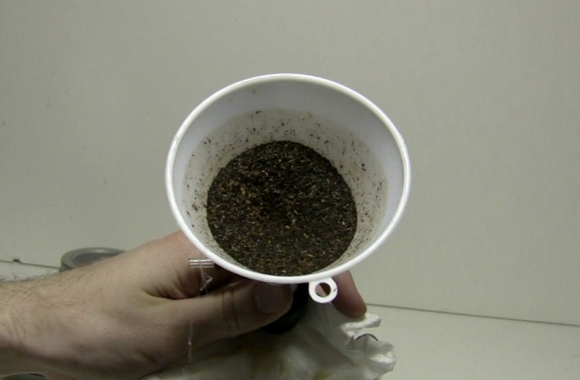
Another cool thing about vacuum filtration is that the filter contents is almost dry, so we lost almost no product.
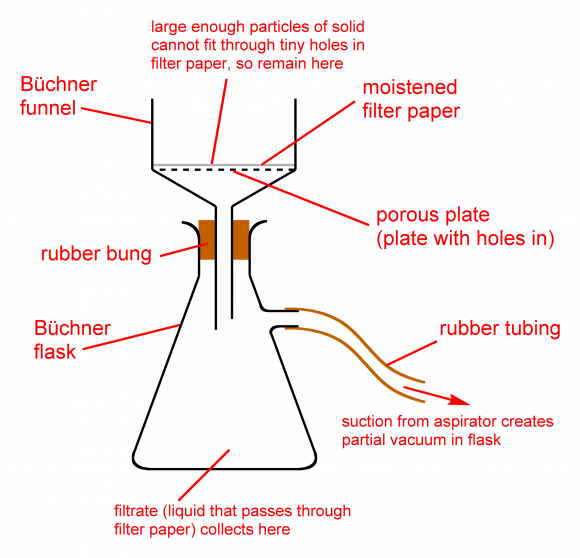
The vacuum filtration device is called Buchner Flask. It is named after its inventor German Industrial chemist Ernst Buchner.
You can actually buy it in the Internet starting from $70 shipped. But building your own was much cheaper and more fun, wasn’t it? I can’t wait to show you what I’m going to use it for in the following episodes. So, keep watching!
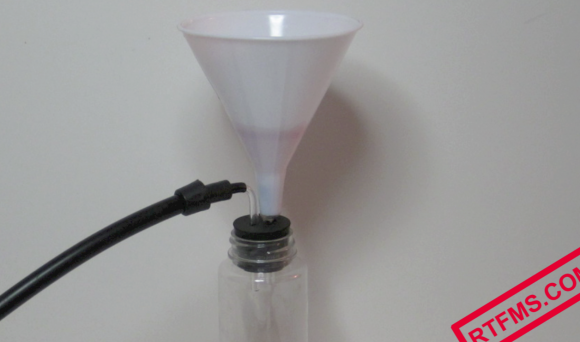
One last note is that you actually can make this setup even cheaper by replacing
– Jam jar can be used instead of the Erlenmeyer flask
– Drinking straw is ok replacement for the glass tubing, but I suggest something with thicker walls. For instance the handles for the helium balloons from Party City are made from a very nice plastic tubing (well, at least in my store)
– Use plastic bottle as the replacement for funnel
– Cotton disks are cheap, but if you don’t have any then coffee filters, paper towels, or even toilet paper make a great filter. Coffee filters are also lint-free, so they make even better filters then the cotton disks (I just don’t have any and didn’t want to buy them).


This is cheap water pump, you plug it to water, and you have under pressure
http://www.chemik.aip.pl/grafika/pompka%20wodna.jpg
Thanks Bob! How much is it?
FWIW,
Once you find a vacuum flask and a Buchner funnel, you will notice two important features:
1.) the flask walls are twice as thick as your typical Ehrlenmeyer flask
2.) like virtually all lab glassware, it’s Pyrex.
Vacuum flasks must be tough(er) to resist implosion/explosion due to vacuum. Even small pressure differences (multiplied over the total surface area of the flask) can generate very large forces!
In general, avoid lab glassware that has obvious cracks, nicks, scratches, or wear. Seemingly minor defects can cause glass to fail catastropically when under any kind of stress — such as pressure or heat.
Be safe!
Ventura1889, thanks for good comment and useful information.
Fortunately the vacuum pump made of bike pump is not powerful enough to collapse even regular Ehrlenmeyer flask, so this particular setup is safe, though not as efficient as pro-grade (and expensive) pumps and flasks.