Do you feel a strange smell coming from the air conditioning system? Something is going on there and most people have no idea about live between the walls of their houses. This is Andrey Mikhalchuk and RTFMs video blog: the information you will never find in your regular user manual. Today we will build a device for exploring the darkest corners of your house.

Let’s start with the bill of materials:
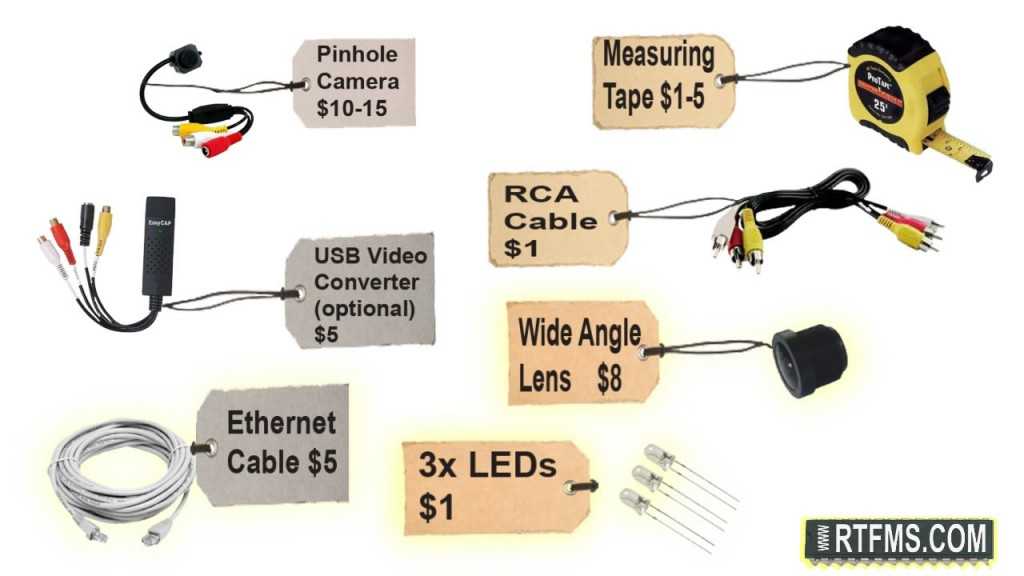
- The first thing we need is obviously the camera itself. Cheap pinhole camera costs around $10-15 shipped from eBay.com
- The next thing we will need is a long enough Ethernet cable. I would say 25′ is a good length. You can obtain it fro $5 from ebay.com or some other Internet store.
- We will also need (optionally but highly desirable) wide angle lens for the pinhole camera. I’ll explain later why. $8, pretty expensive one.
- 10 LEDs ultrabright white ones will cost you about $1, we will need just 3 of those
- RCA video cable. I hope you already have it at home, but if you don’t – $1 from ebay.com
- Measuring tape. The best source is probably Dollar Store where it costs obviously around $1 or you can get it for $5 from Home Depot or Lowes
- Optionally you will need USB video converter. You will be able to plug this camera to your TV and preview whatever you have in your duct on the TV screen, but if you want to record it on computer you will need this USB Video converter so you will be able to input the video signal into your laptop or PC. And I’ve bought mine for $5 from ebay,
- Electrical tape (scotch tape will work too), optionally soldering iron
- 9V power supply, typically coming with the camera (sometimes those cameras come with 9V battery adapters – that’s fine too)
Now let’s extend the camera pigtail with Ethernet cable. First, cut the camera cable approximately 2″ from the camera body. Strip the insulation from the camera cable. You can do it with a knife, but this fancy tool from RadioShack will make your life easier.
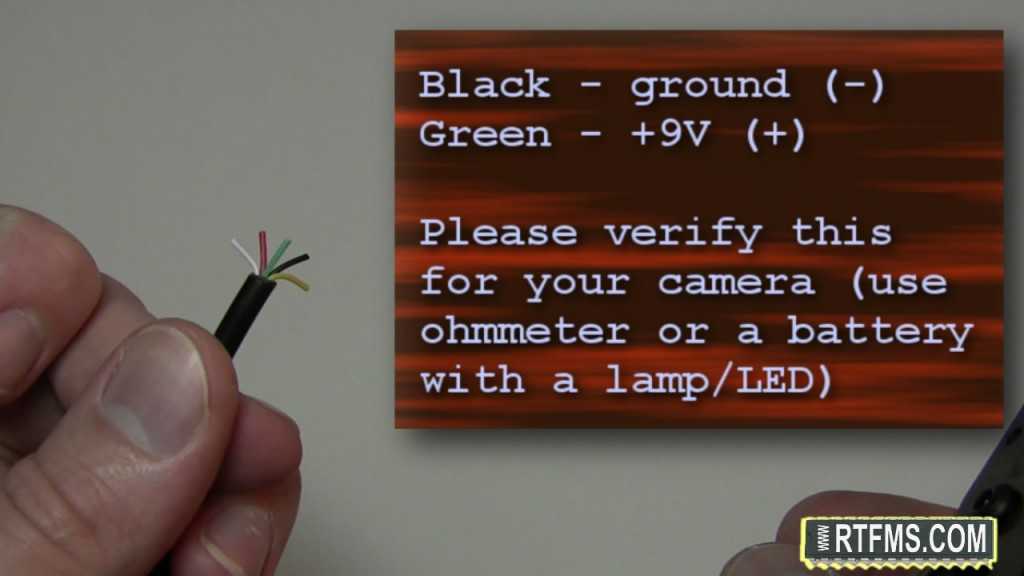
There are five wires inside the cable and if you think the color of the wires match those of the RCA cable connectors you might be wrong. For instance in this camera they don’t. So I had to use an ohmmeter to map these wires to the pigtail connectors. Black wire as you would expect appeared to be ground and the green one was +9V. If you don’t have an ohmmeter ($10 for the cheapest one from RadioShack) you can use the LED assembly to be explained later to find the ground and +9V wires. For now we do not care about the rest of the wires, just match the colors while extending the pigtail cable.
Now chop off the RJ45 connectors off the ethernet cable and strip the insulation from the ethernet cable itself and wires inside it. Again, you can use knife for this, there is no real need for any fancy tools here.
It’s time to put the ethernet cable between two pieces of the camera pigtail. Both cables are color-coded, so it should not be difficult to make sure all wires are extended and mapped properly. If you have a soldering iron, please do not hesitate to use it. I just wanted to check if this project is doable without it and apparently it is. You can twist the wires and insulate them with electrical tape and the video signal quality will still be excellent on the other side of our extended cable.
On the camera side when you will be connecting ground and +9V wires please add two more wires to expose 9V from the cable. We will use this tap to power the illumination LEDs.
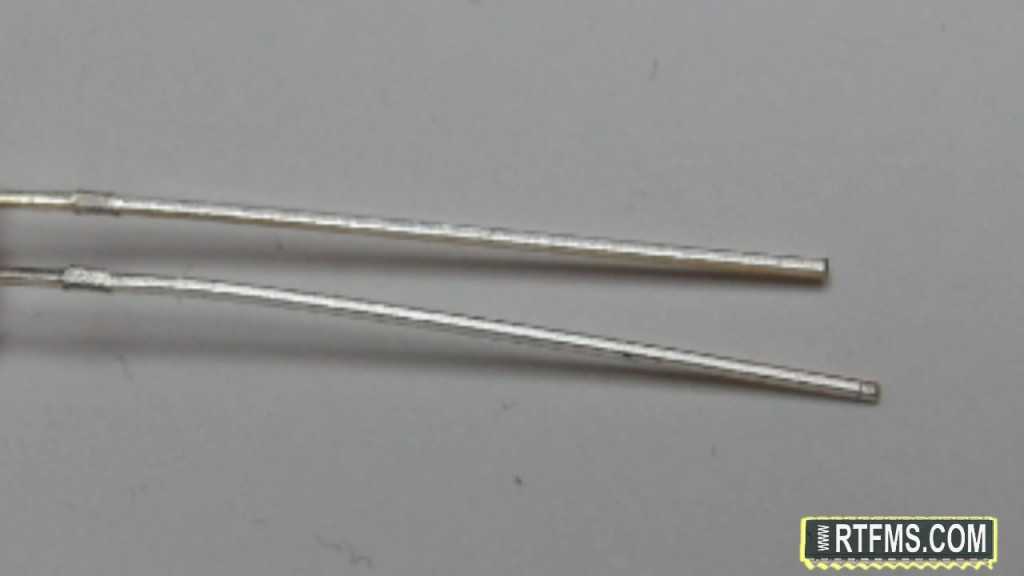
The camera is powered by a 9V power source and the ultrabright white LEDs require approximately 3V. So if we connect 3 of them in series that assembly will perfectly work from the 9V tap we exposed from the cable. Look at the LED – it has one leg longer than the other. Connect the three LEDs so long leg of one LED is twisted with the short leg of the next one. Power up the camera and touch the long leg of our assembly with the +9V wire and the short one with the ground wire. All three LEDs should light up.
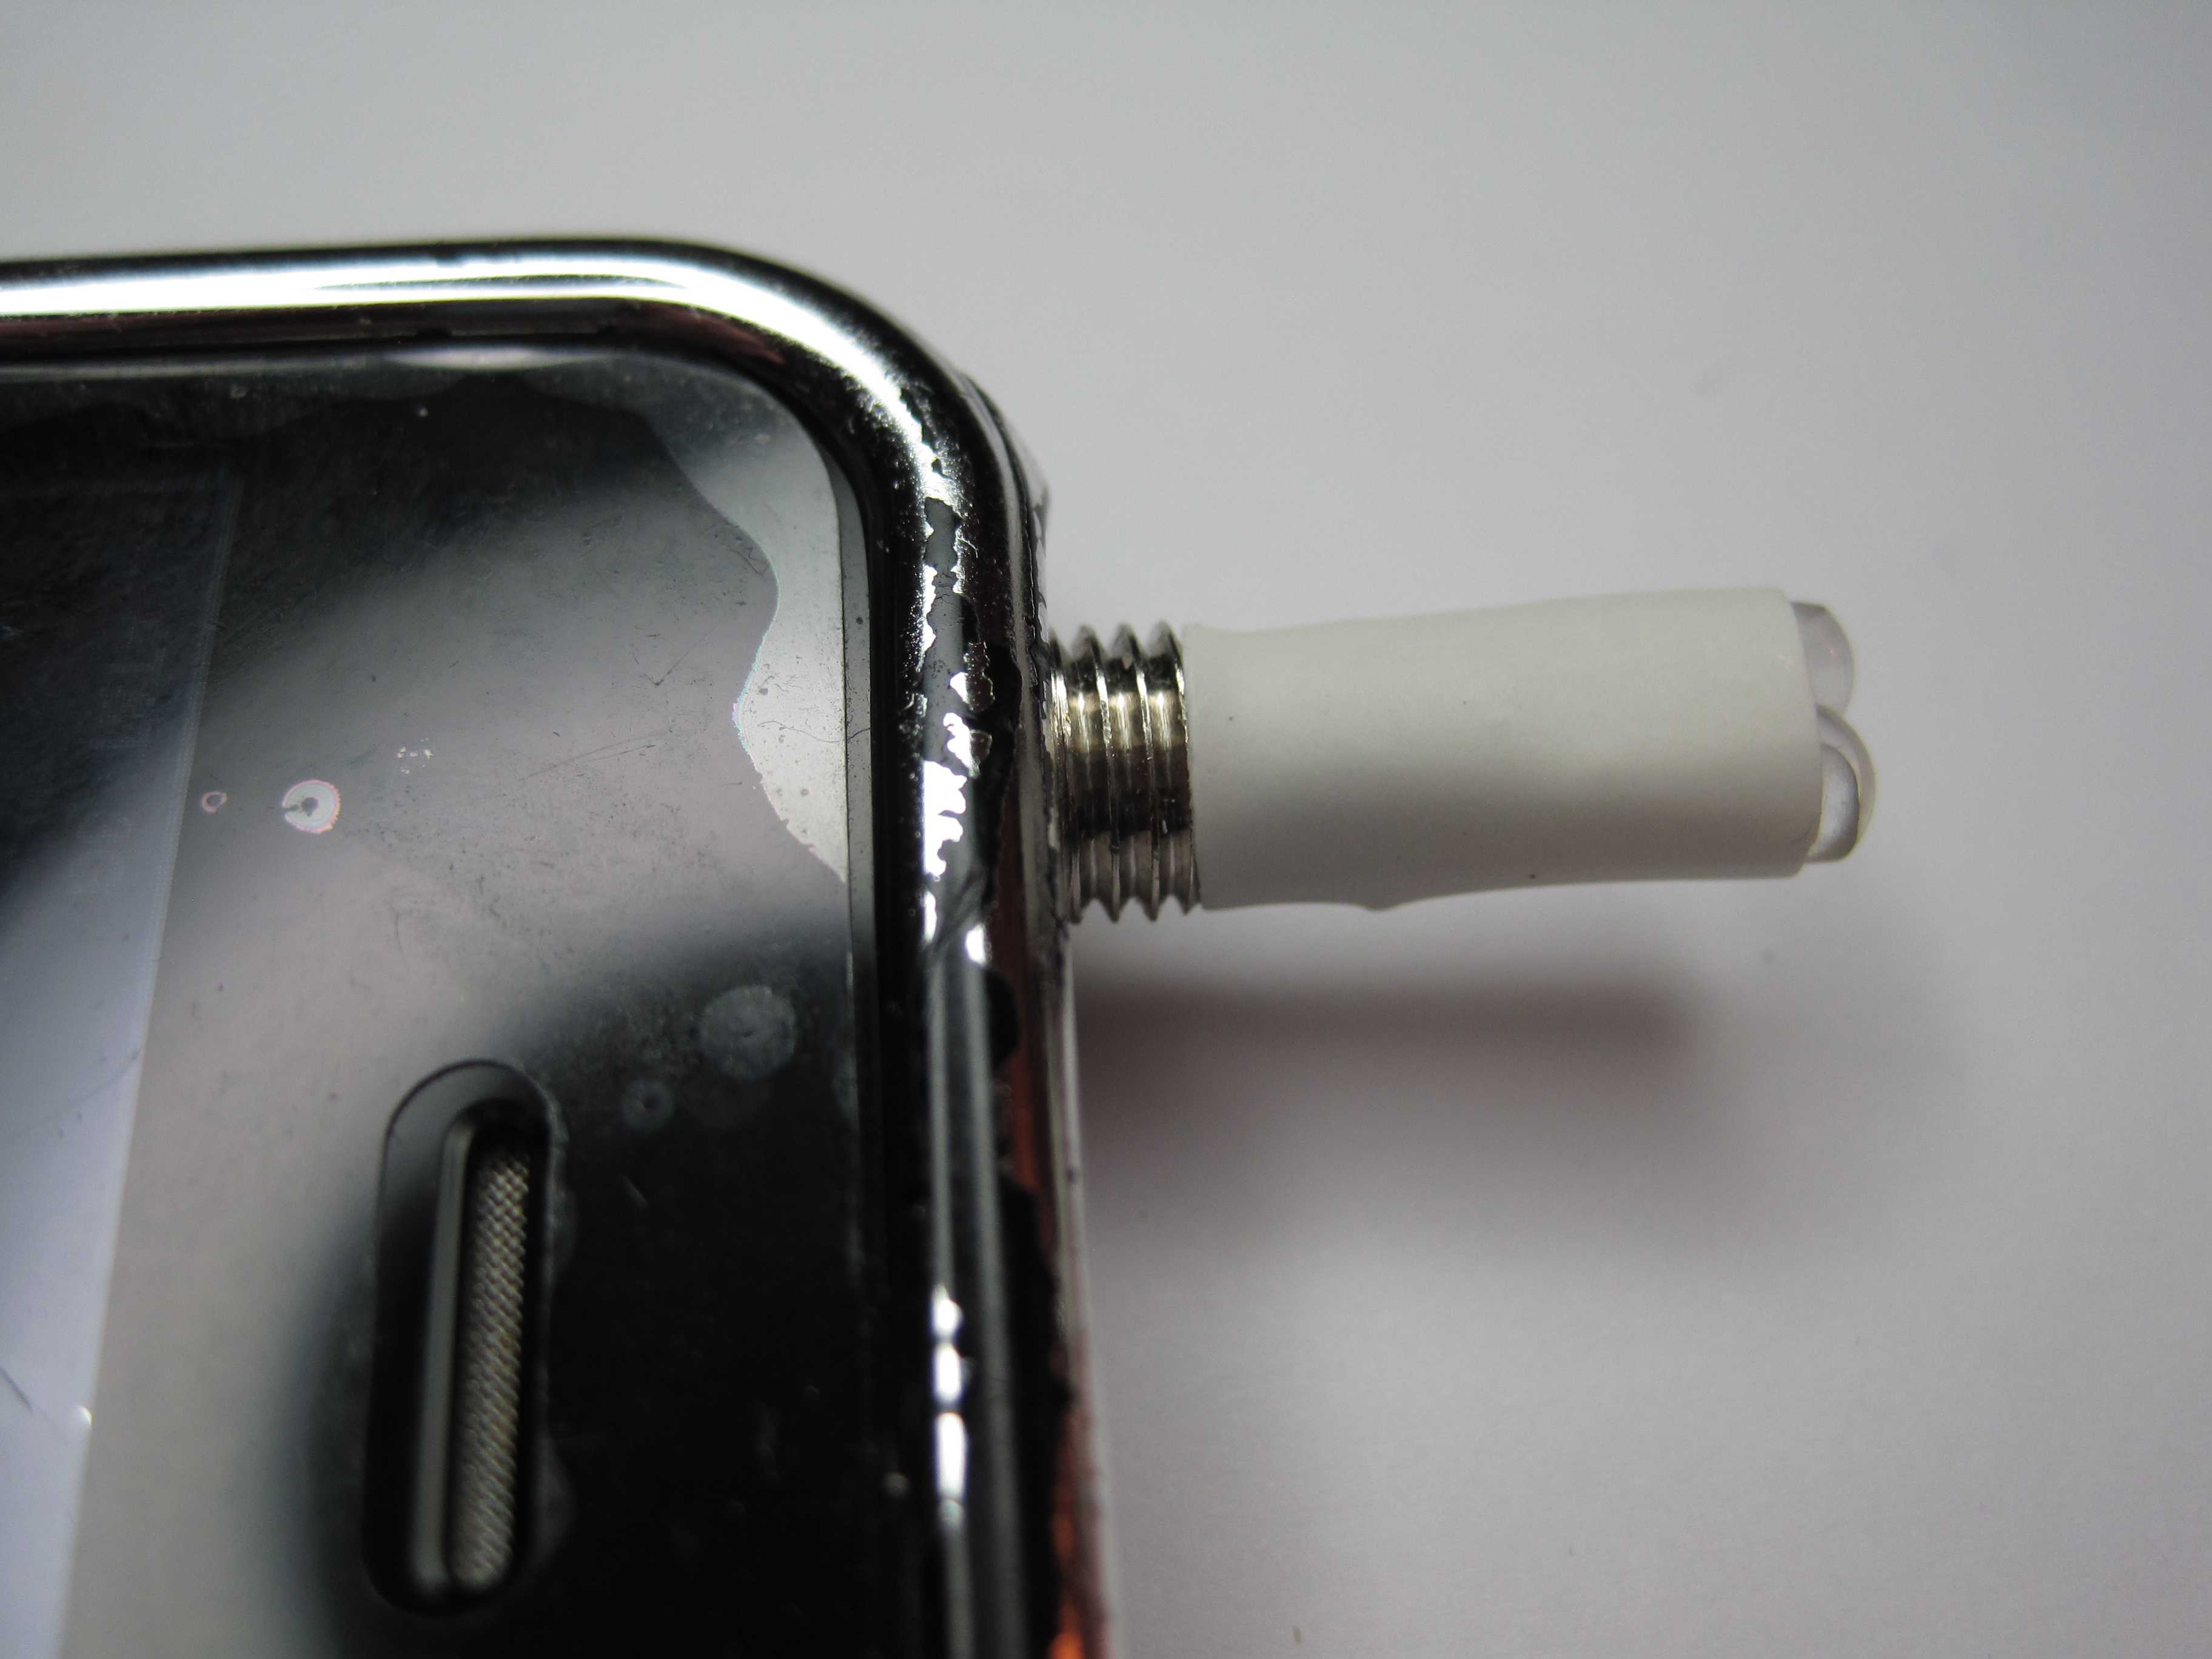
Most LEDs have embedded lens that produce narrow beam of light. Unfortunately this light is not good for our cheap camera, we need to diffuse it. You can easily turn the narrow beam LEDs into diffused ones by sanding them with a fine sanding paper.
Once the illumination is assembled, sanded and properly connected to power you can mount it to the camera with electrical tape.
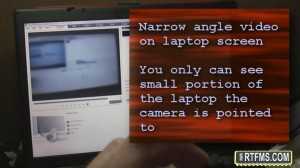
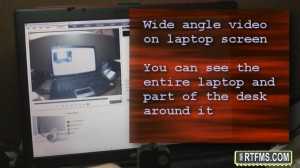
One thing you probably noticed is that I replaced the stock narrow angle lens on this camera with the wide angle one. Let me show the difference the new lens make. When the camera is in the tight place like duct pipe wide angle lens provide much broader field of view, so you can see the big picture.
The final improvement to the camera is mounting it to the measuring tape. The regular unshielded cat5 ethernet cable is too flexible to push it into the duct deeper than 2-3 feet. With the help of the measuring tape you can triple that range.
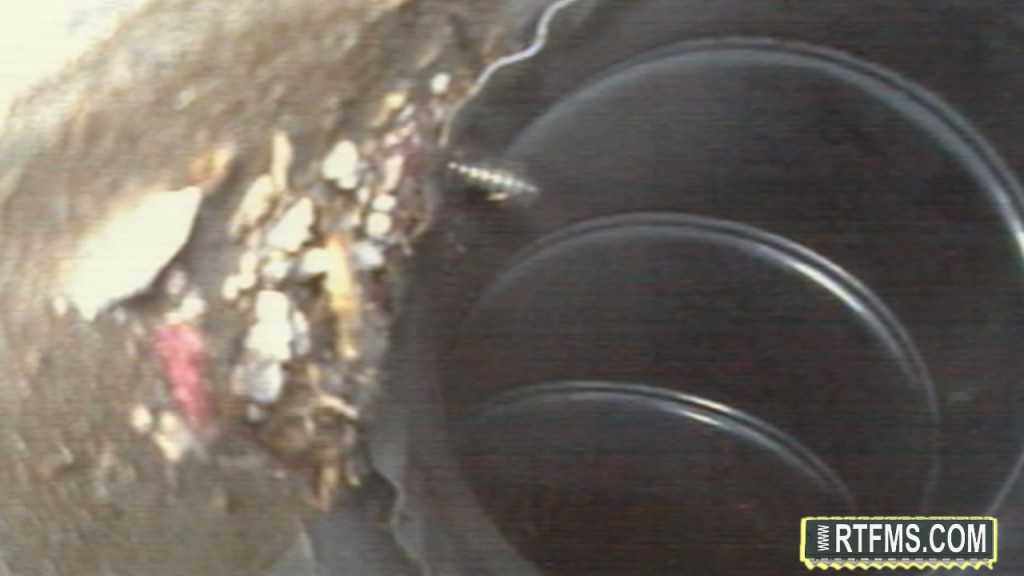
I’m moving the camera inside the duct. The netbook not only displays the big picture, but also records it. As expected there is a lot of trash in the beginning of the path, nothing interesting though. Actually there are two coins, so it looks like the project starts paying for itself. I think it’s two rusty quarters. Next we see something that looks like a cigarette butt. More dust, more trash. There is definitely more dust at the bottom of the pipe than on top. And the camera is actually upside-down now. Hmm… interesting. It looks like something lives here. Looks like mold … could be the source of bad small. I just hope it is not very dangerous. Yeah … looks horrible. Here is the photograph of our hero. It is not high-definition, but still pretty colorful picture.
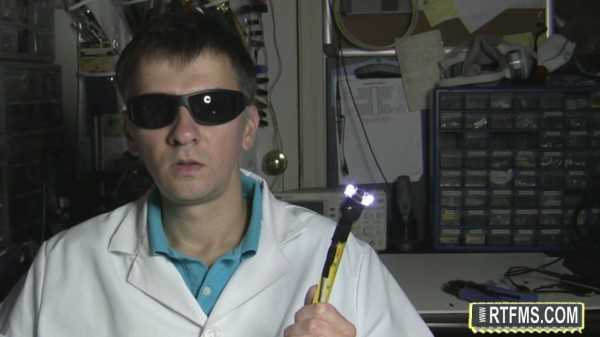
With this device we’re able to see the life 5′ deep in the walls. This is much better than most commercial solutions you can buy for a few hundred dollars. However, there is a way to go much deeper. Keep watching RTFMs video blog and you will find out how to explore even creepier places in your house.
See You Later.
