If by looking at this picture you guessed that today’s episode is about vacuum, you’re totally right. To be precise, we will be talking about building a powerful vacuum pump.
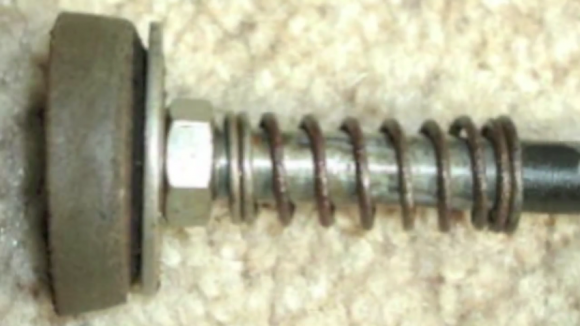
Building a vacuum pump once was easy. You just get a bicycle pump like this one and reverse the rubber seal at the end of the plunger.
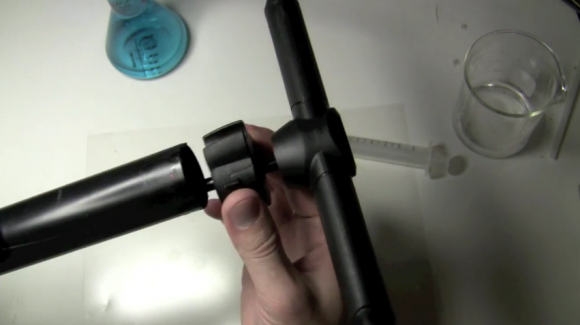
Modern pumps have a different construction and reversing them is a bit more complicated than it was before. Let’s take this pump apart and see what’s inside.
Let me remove the top cover of the barrel. In this particular pump it is secured with two screws which I already took out. The top cover gets off easily and I’m removing the plunger. It’s a good idea to have bunch of paper towels nearby to wipe out tons of grease from the plunger.
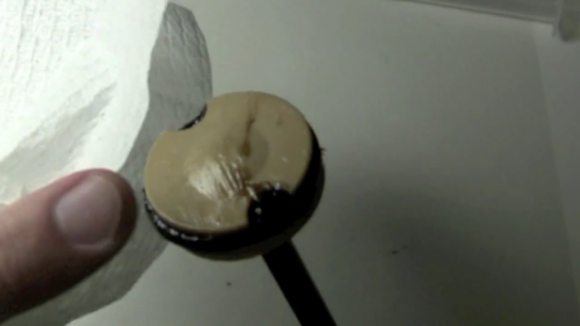
So the grease is removed, we can see the seal and it looks non-reversible. There is just no thru hole. Well, let’s make it!
I don’t want to damage the o-ring, so I’m removing it first. Next goes this nut which doesn’t really secure anything. Unscrewing the plastic piston was the least trivial part that required good amount of brute force, vice and pliers. Well, let me pretend that was easy.
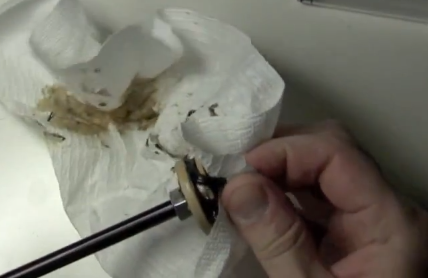
While drilling the hole I don’t want to ruin the threading which I still need. So I’m making a small hole with Dremel and then make it larger already knowing where to drill from the blind side.
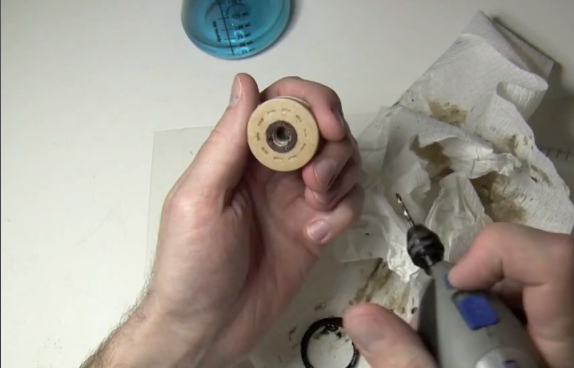
Once we know that we can make the hole larger by using a larger bit and drilling from the blind side. Make sure you don’t ruin the threading!
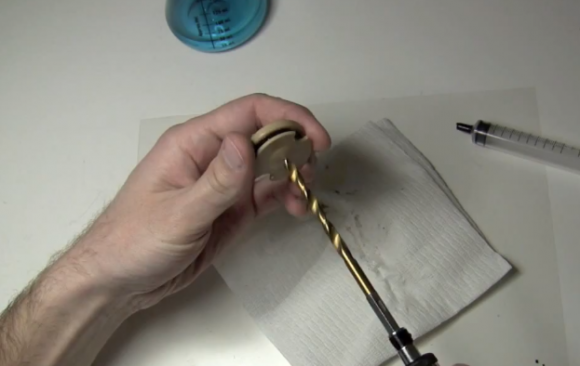
Let’s screw the piston to the plunger and check if the threading is in place and the hole is good to screw the piston in reversed orientation. Yeap, it is!
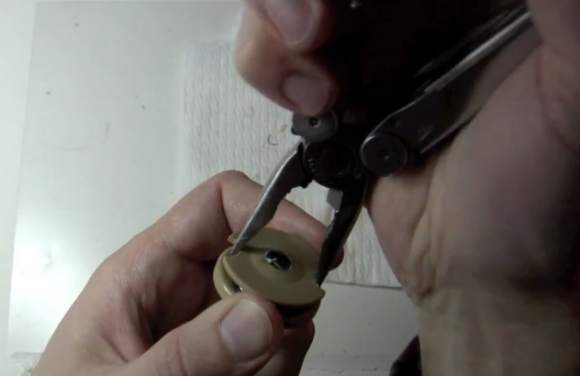
Now I can attach the piston in reversed position, put the o-ring back and apply a lot of grease. To install the plunger back into the barrel first insert it maintaining 45 degree angle and then push it inside. Finally lets put the top cover back and secure it.
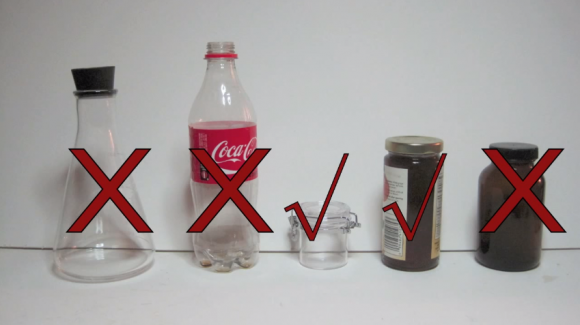
Our pump is almost ready, but we need one more very important component: the vacuum chamber. It has to be transparent so we can see what’s inside. Its walls need to be thick. So for instance plastic bottles won’t work. It also has to be small as the smaller it is the lower pressure will be able to produce. I was lucky to snatch this acrylic jar in Target and it perfectly fits the requirements. This glass jar will also make a great vacuum chumber once I’m done with jam in it.
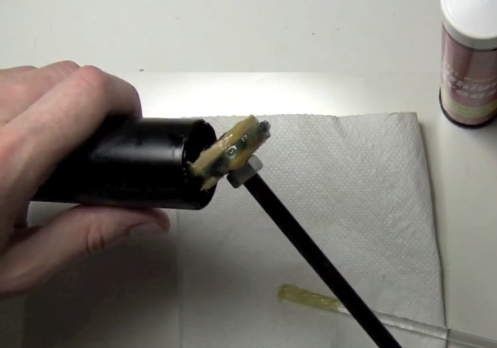
To attach the pump to the chamber I unscrewed the head from the hose. (You can actually simply cut it out). Than I drilled a hole in the jar cap that approximately fits this drinking straw that happen to fit the pump pretty well, inserted straw into cap and secured everything with chewing gum.
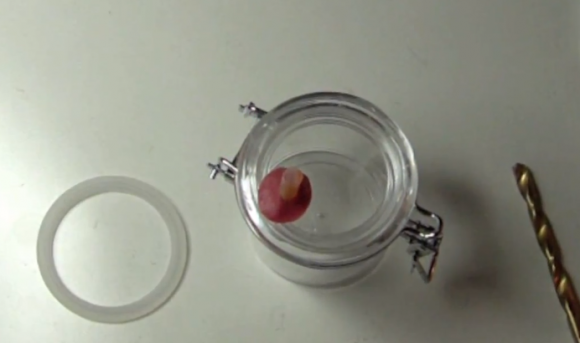
It worked surprisingly well, though later I redid it with aluminum pipe and hot glue to make it more permanent.
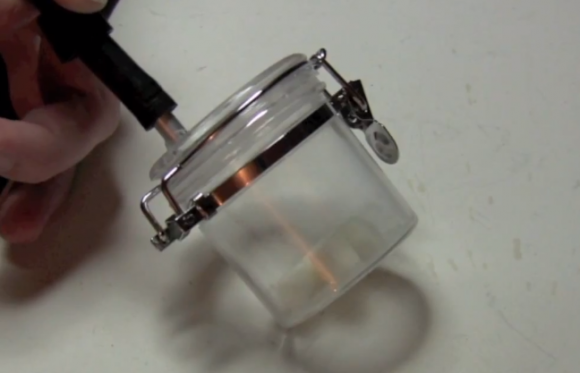
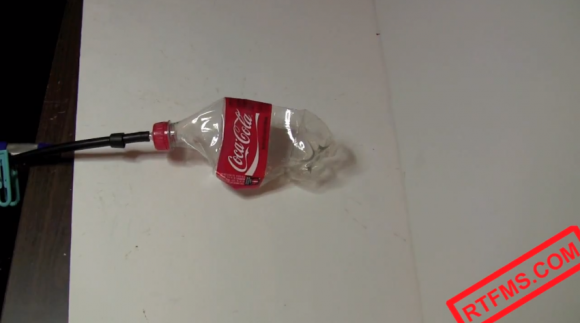
So here is our vacuum pump and chamber. You can use it to squash plastic bottles or inflate marshmallows. In the following episodes I’ll show how to use it in a more scientific manner.


Great tutorial you have here. Will this apparatus be effective if I will use it for a physics experiment?I want to use this apparatus to make a vacuum chamber to demonstrate why sound cannot travel to vacuum.
Geoluhread,
Unfortunately this vacuum pump is not powerful enough to create absolute vacuum to demonstrate this effect. You need a more powerful/expensive device for that.
Regards,
Andrey